Create Develop environment in Elastic Beanstalk
-
Download source code here nodejs.zip
-
Go to AWS Management Console
-
Search key word
Elastic Beanstalkand select.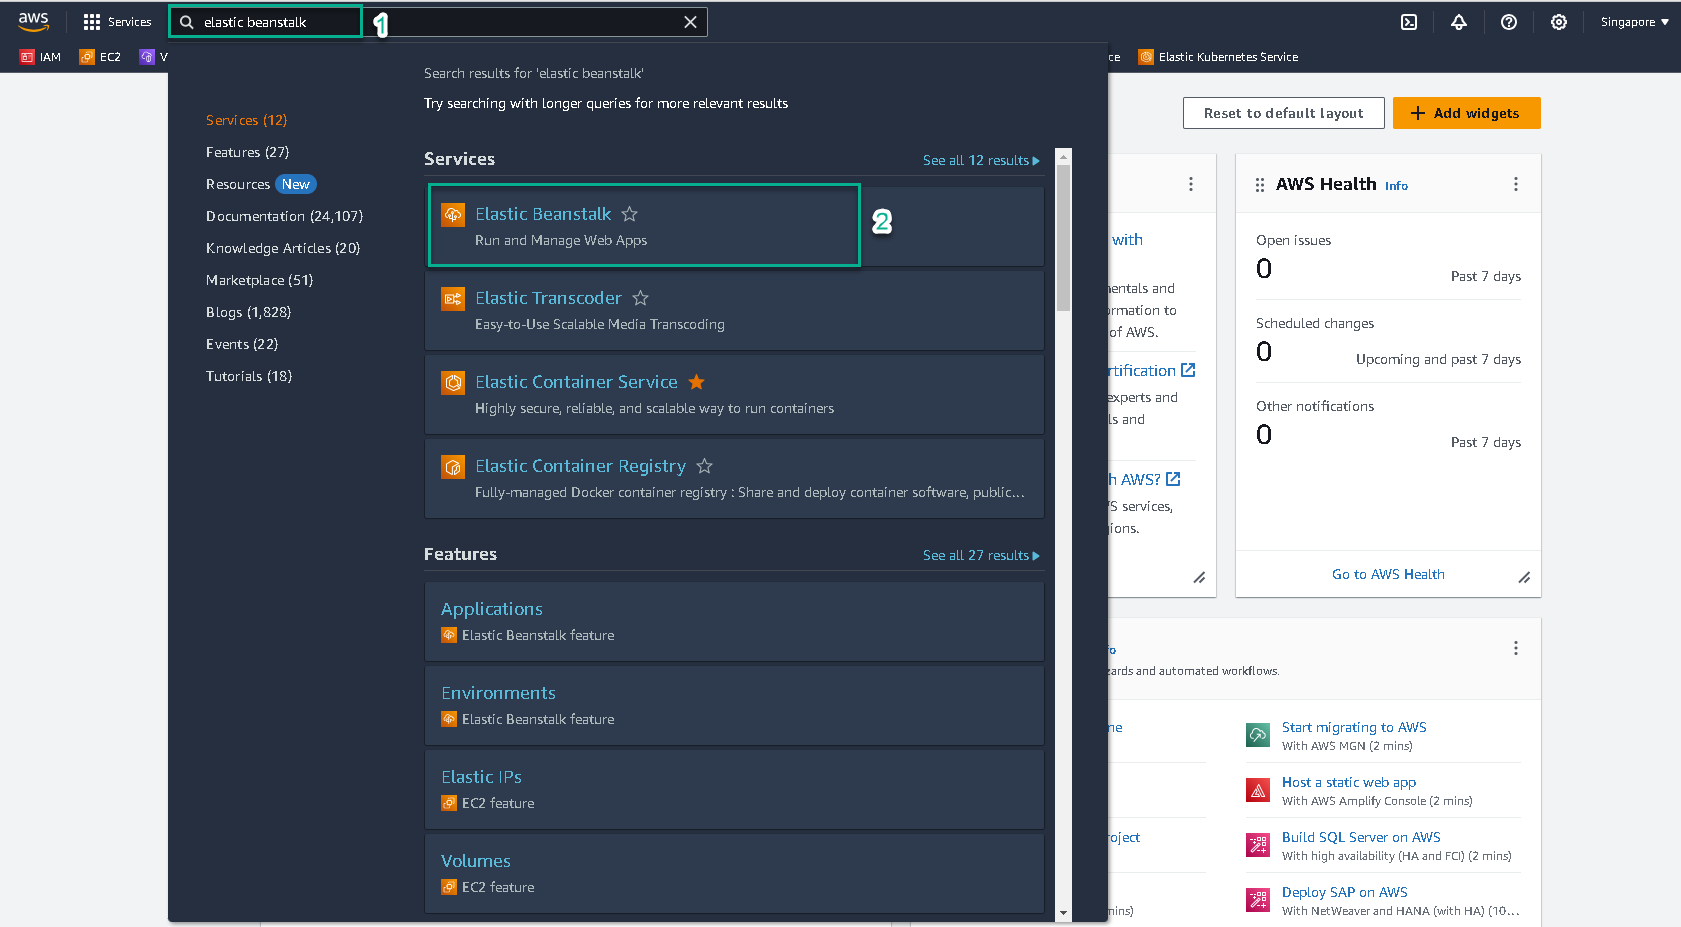
-
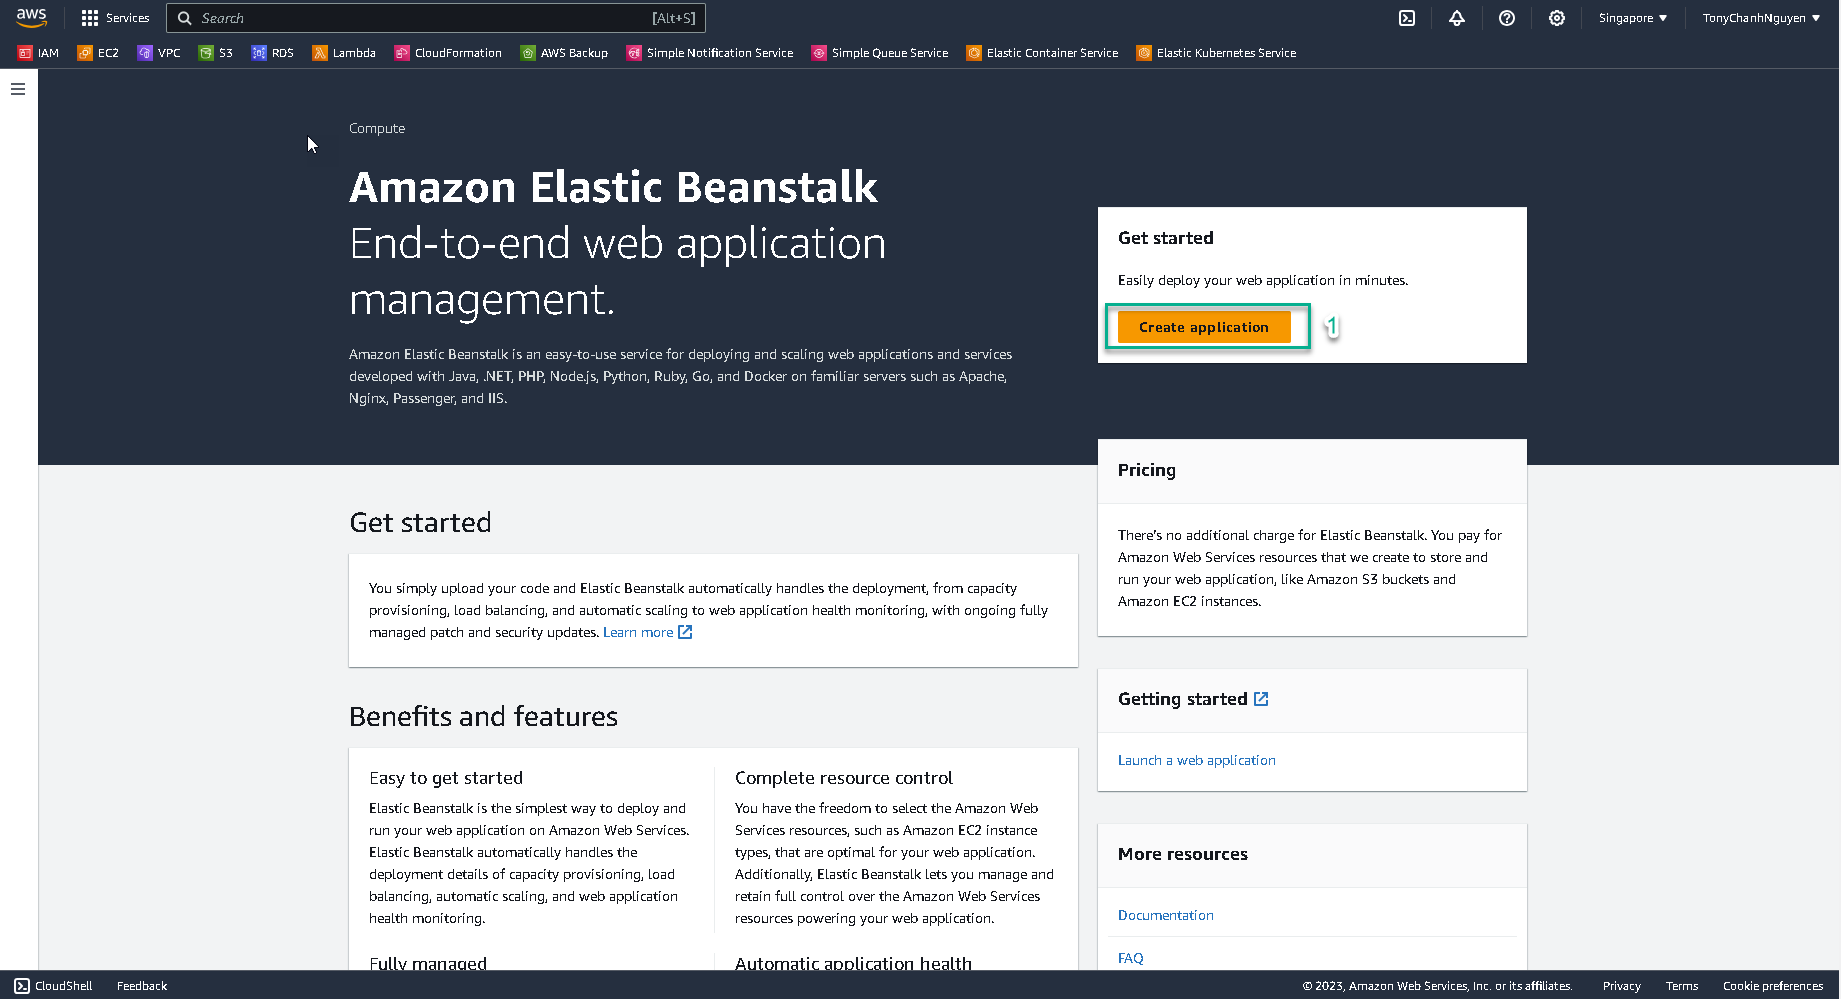
Click Create Application.
-
In Configure environment stage.
-
Select Web server environment
-
In Application name field, input the name of your application. Ex:
FCJ-My-First-App. -
In Environment name field, input
FCJ-My-First-App-env-DEVfor Develop environment.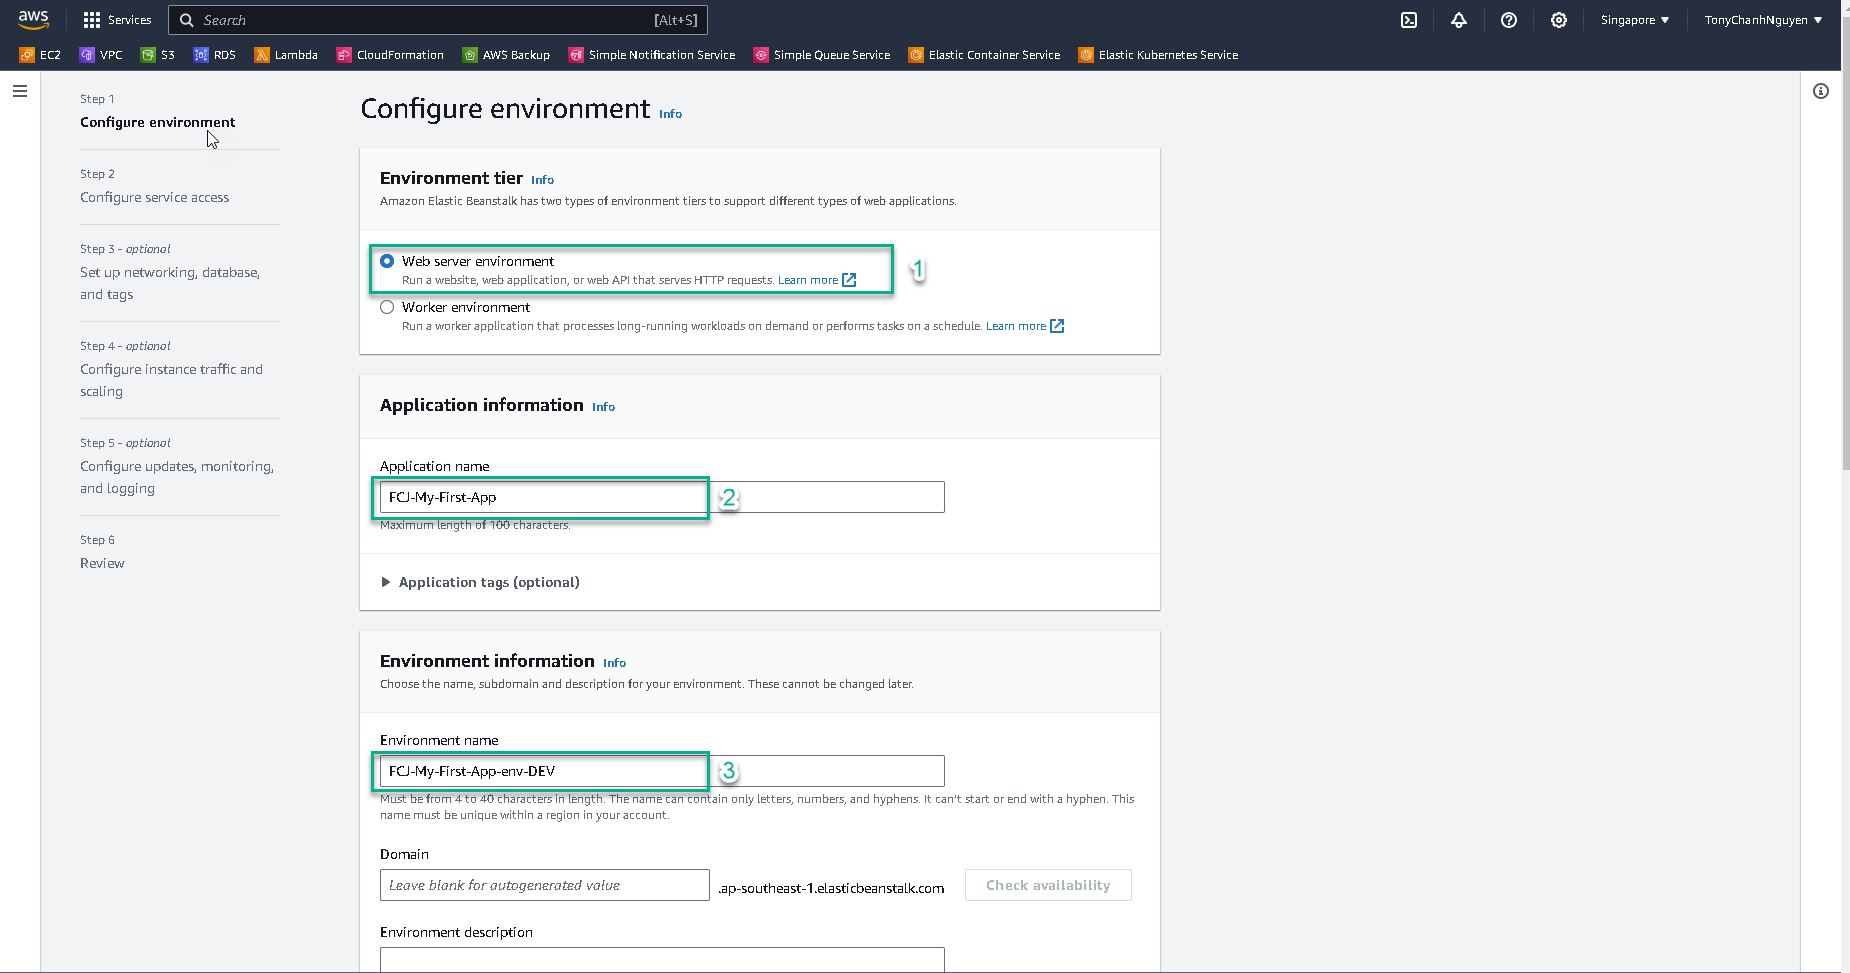
-
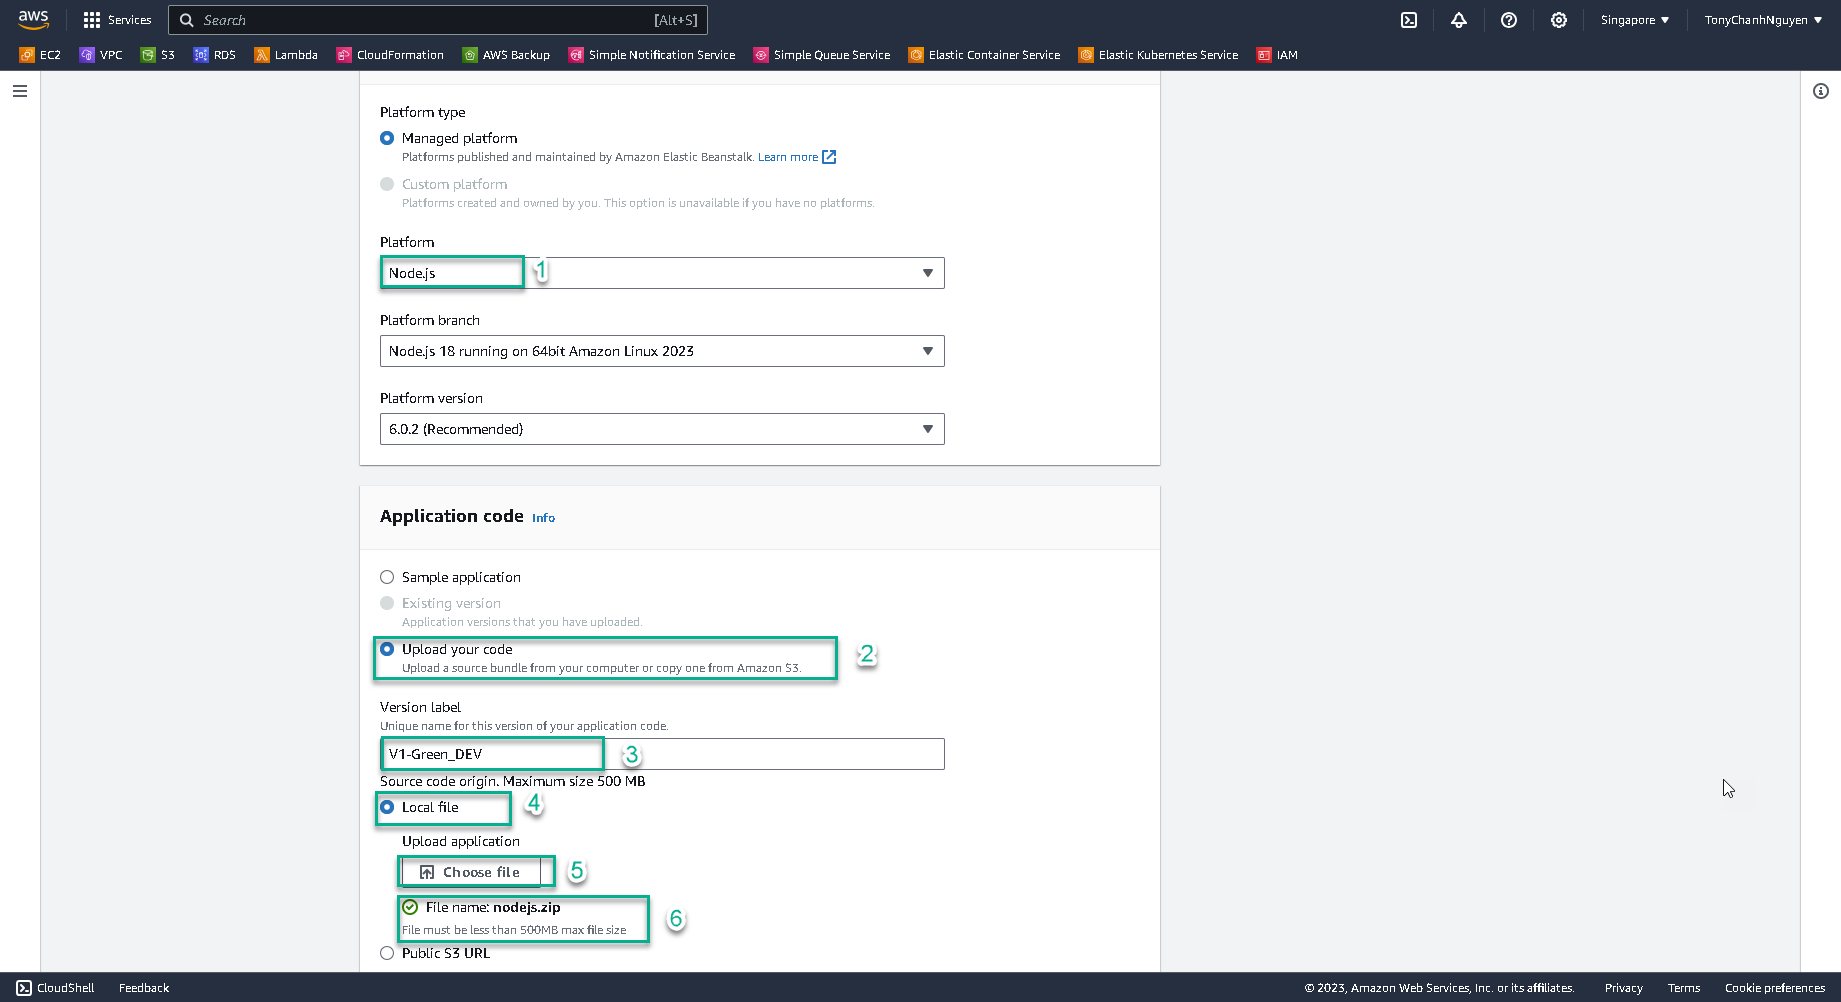
In Platform field, choose NodeJS
-
In Application code, choose Upload your code.
-
In Version lable , input
V1-Green_DEV -
Then choose Local file and click Choose file to upload source code from your local machine.
-
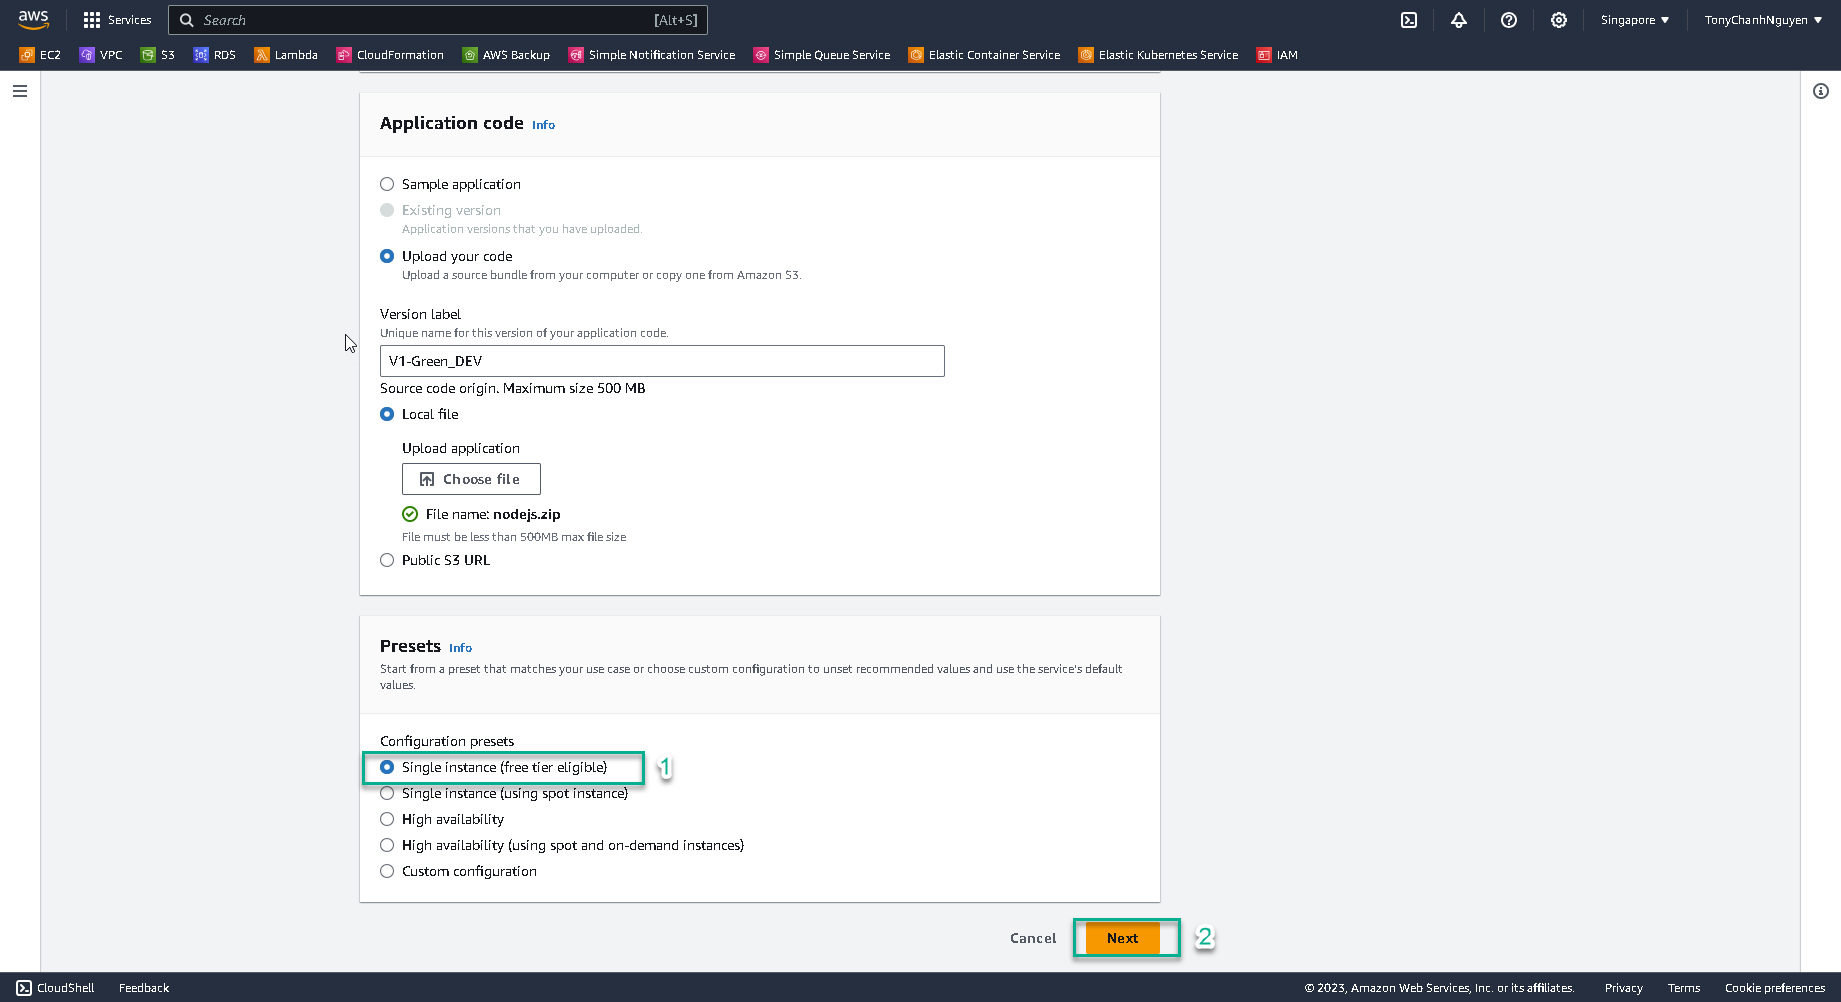
In Presets field, choose Single instance (free tier eligible). Then click Next.
-
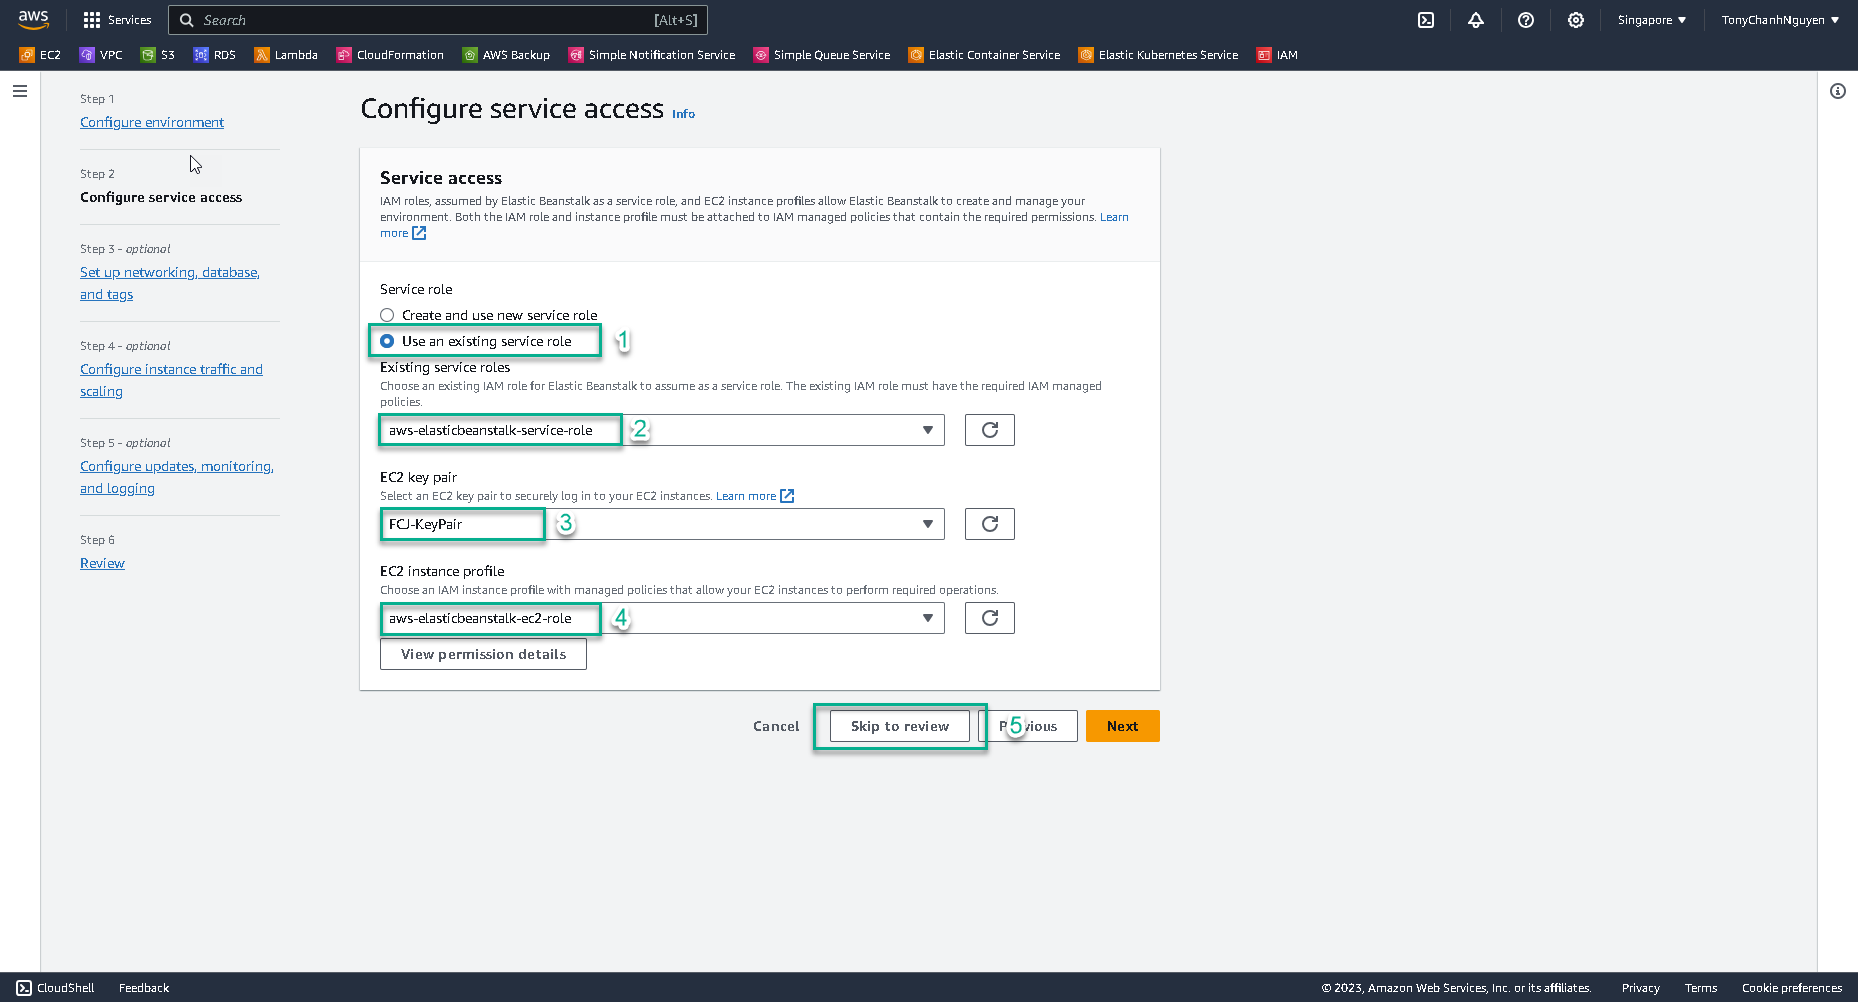
In Configure service access interface:
- At Service role, choose Use an existing role.
- At Existing service roles, select role aws-elasticbeanstalk-service-role.
- At EC2 key pair, select FCJ-KeyPair.
- At EC2 instance profile, select role aws-elasticbeanstalk-ec2-role.
- Then click Skip to review to go to next step.
-
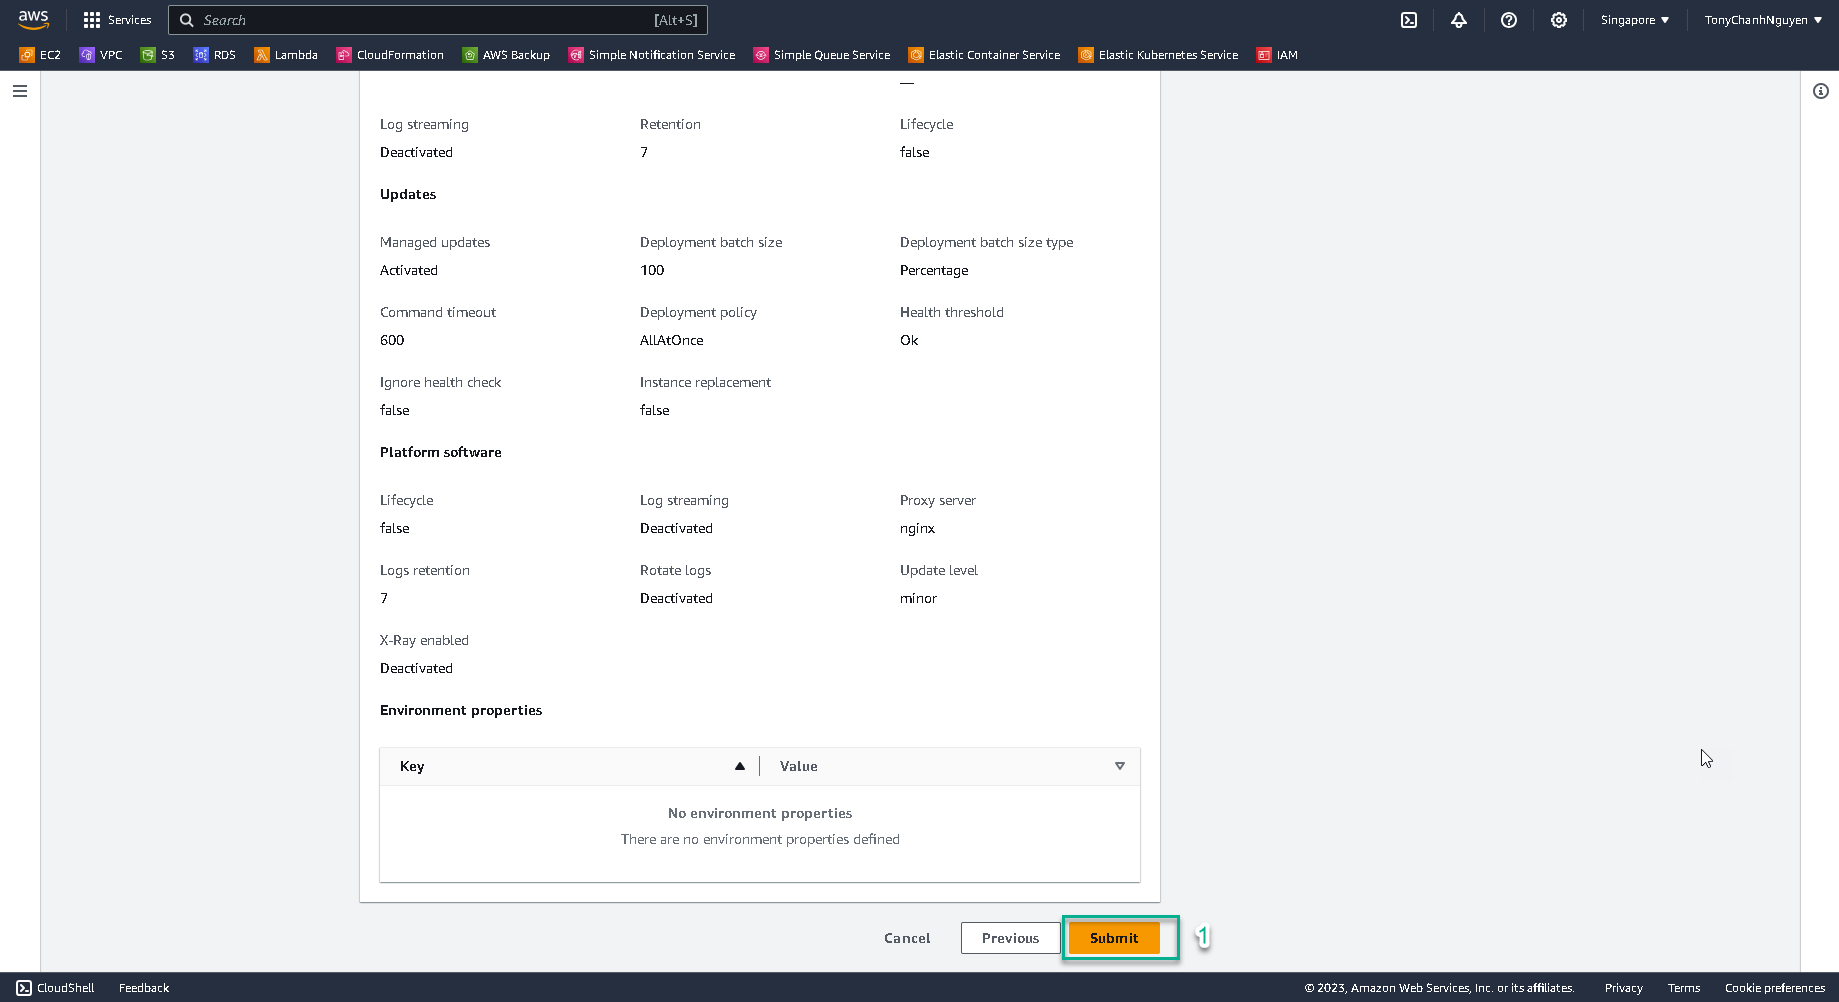
Scroll down and click Submit to create application and its environment.
-
Check the result, the environment is creating.
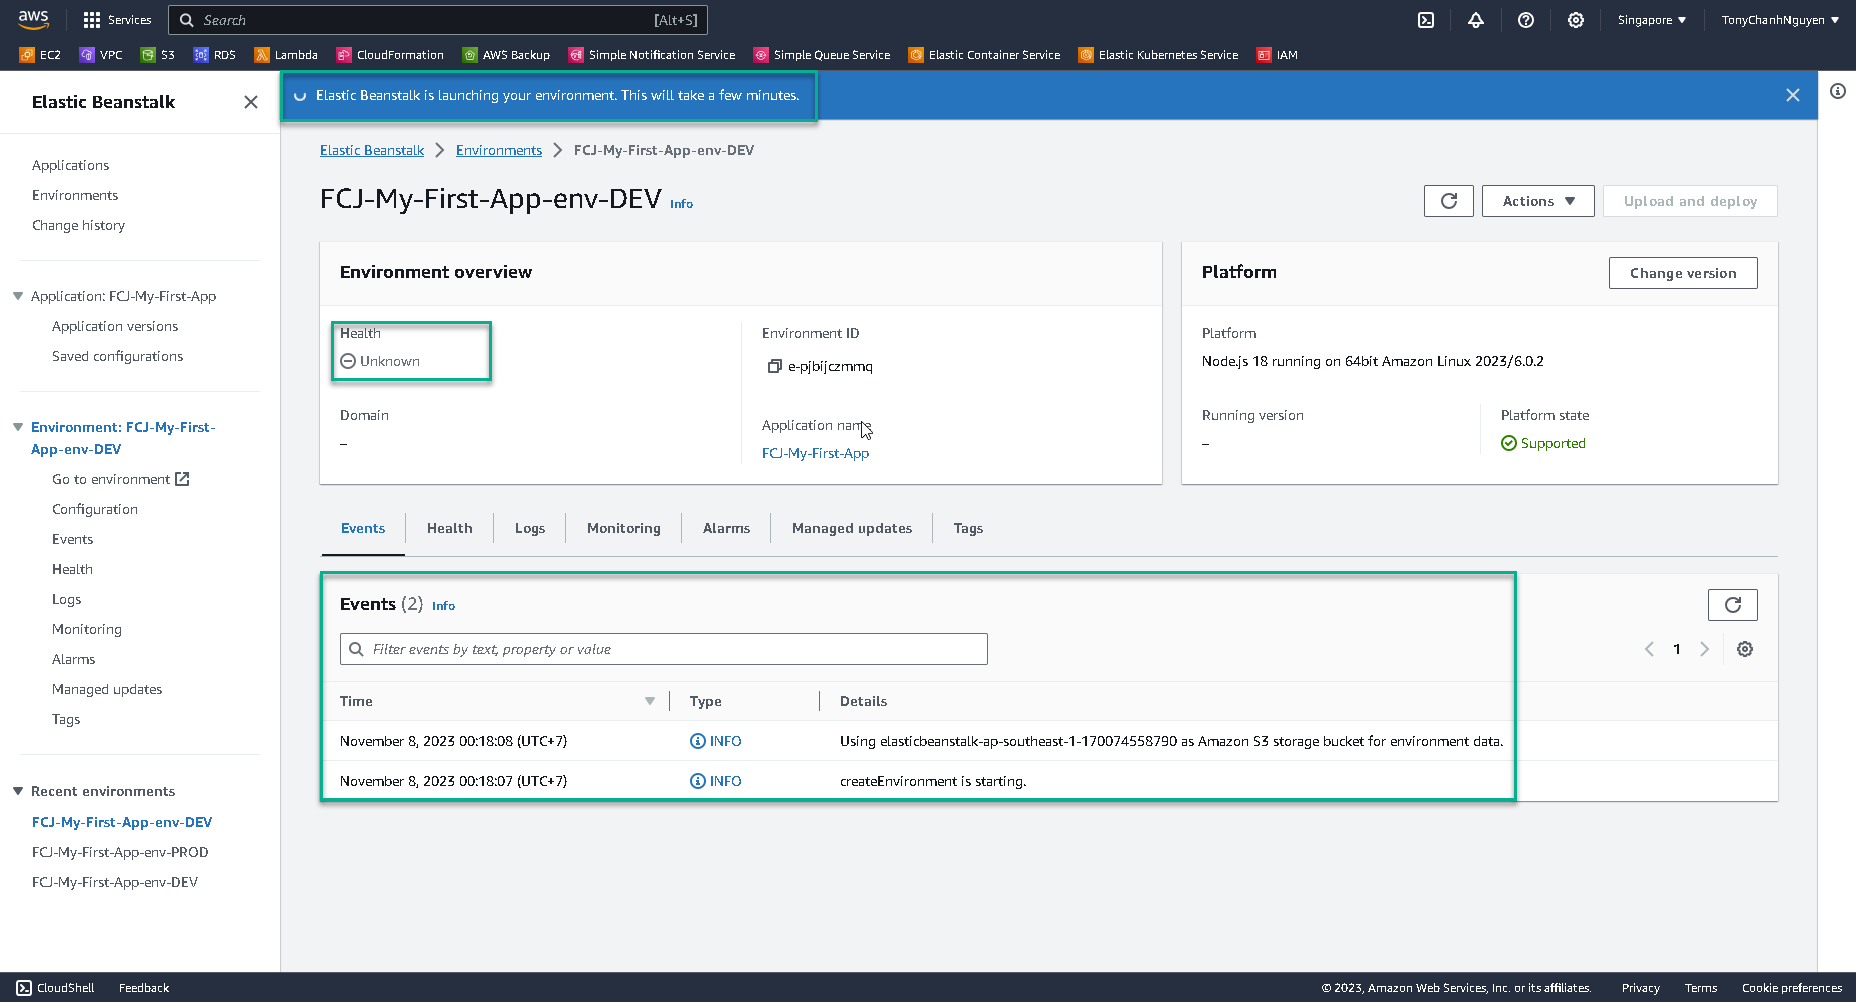
This process will take you about 5 minutes to finish.
-
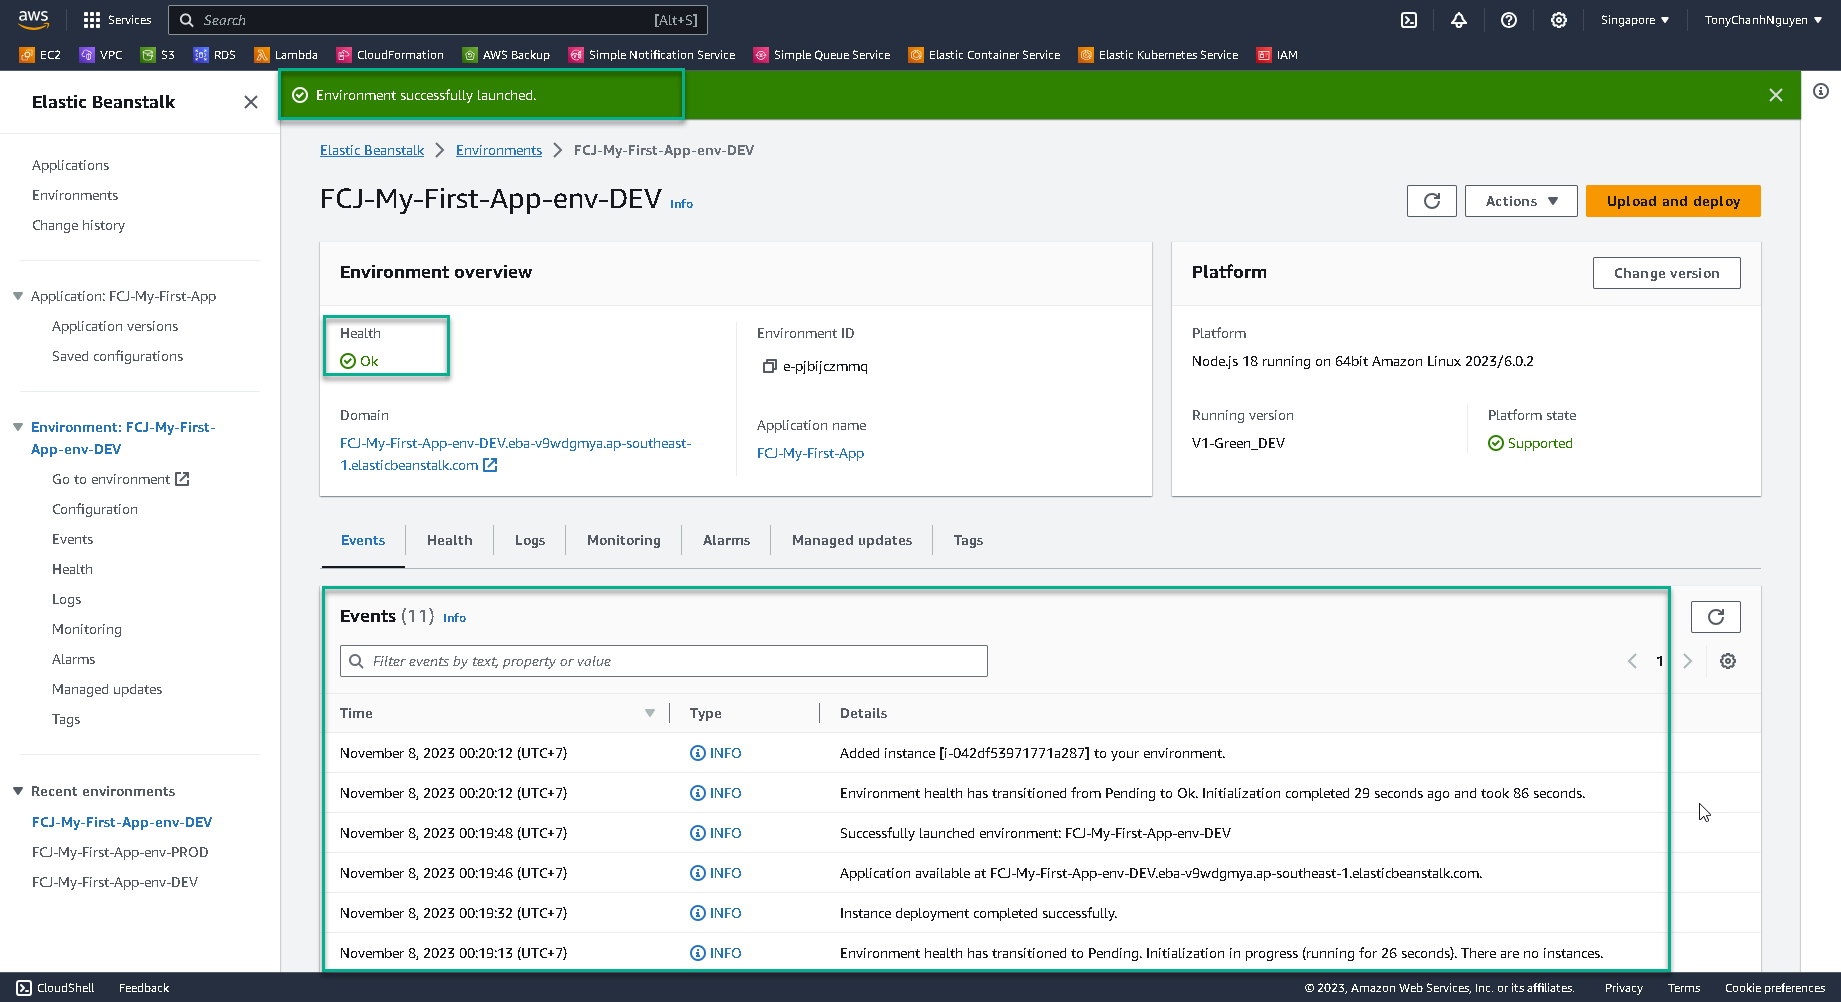
See the result after the environment is created successfully.
-
Click to Domain of environment to see the result of your application.
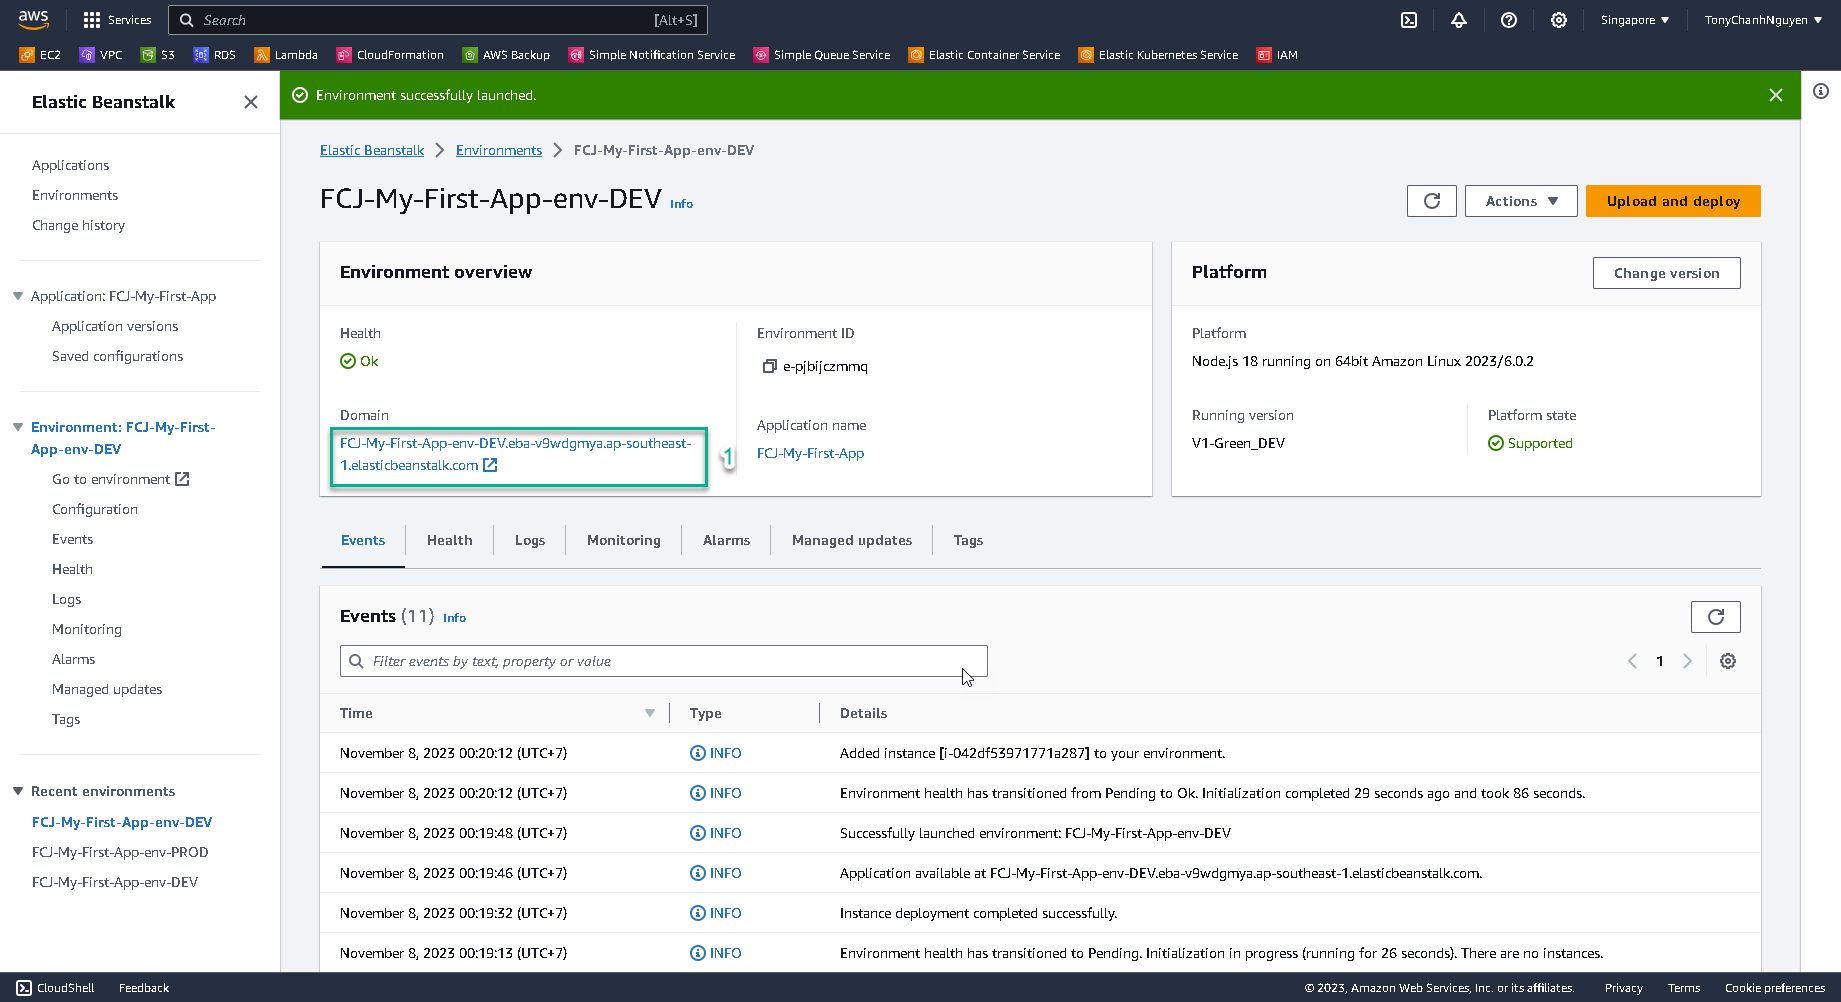
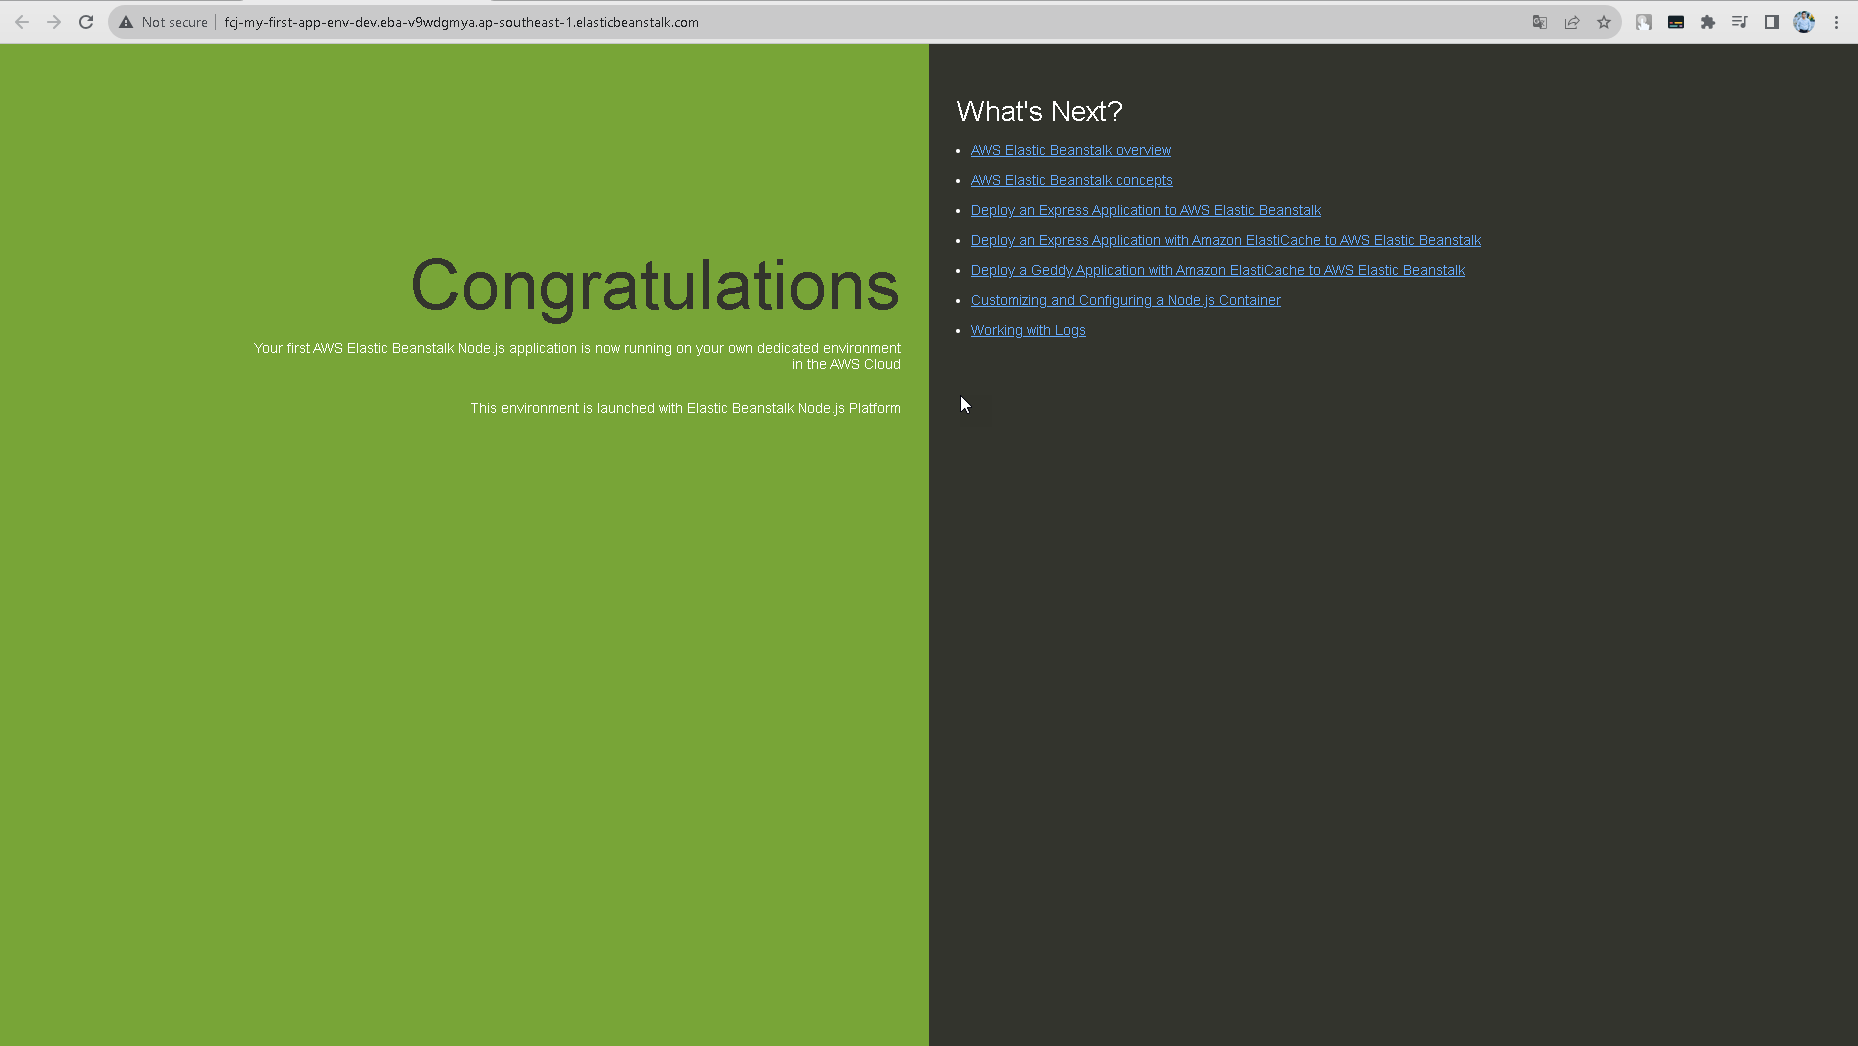
Remember that the background of your application now is Green.
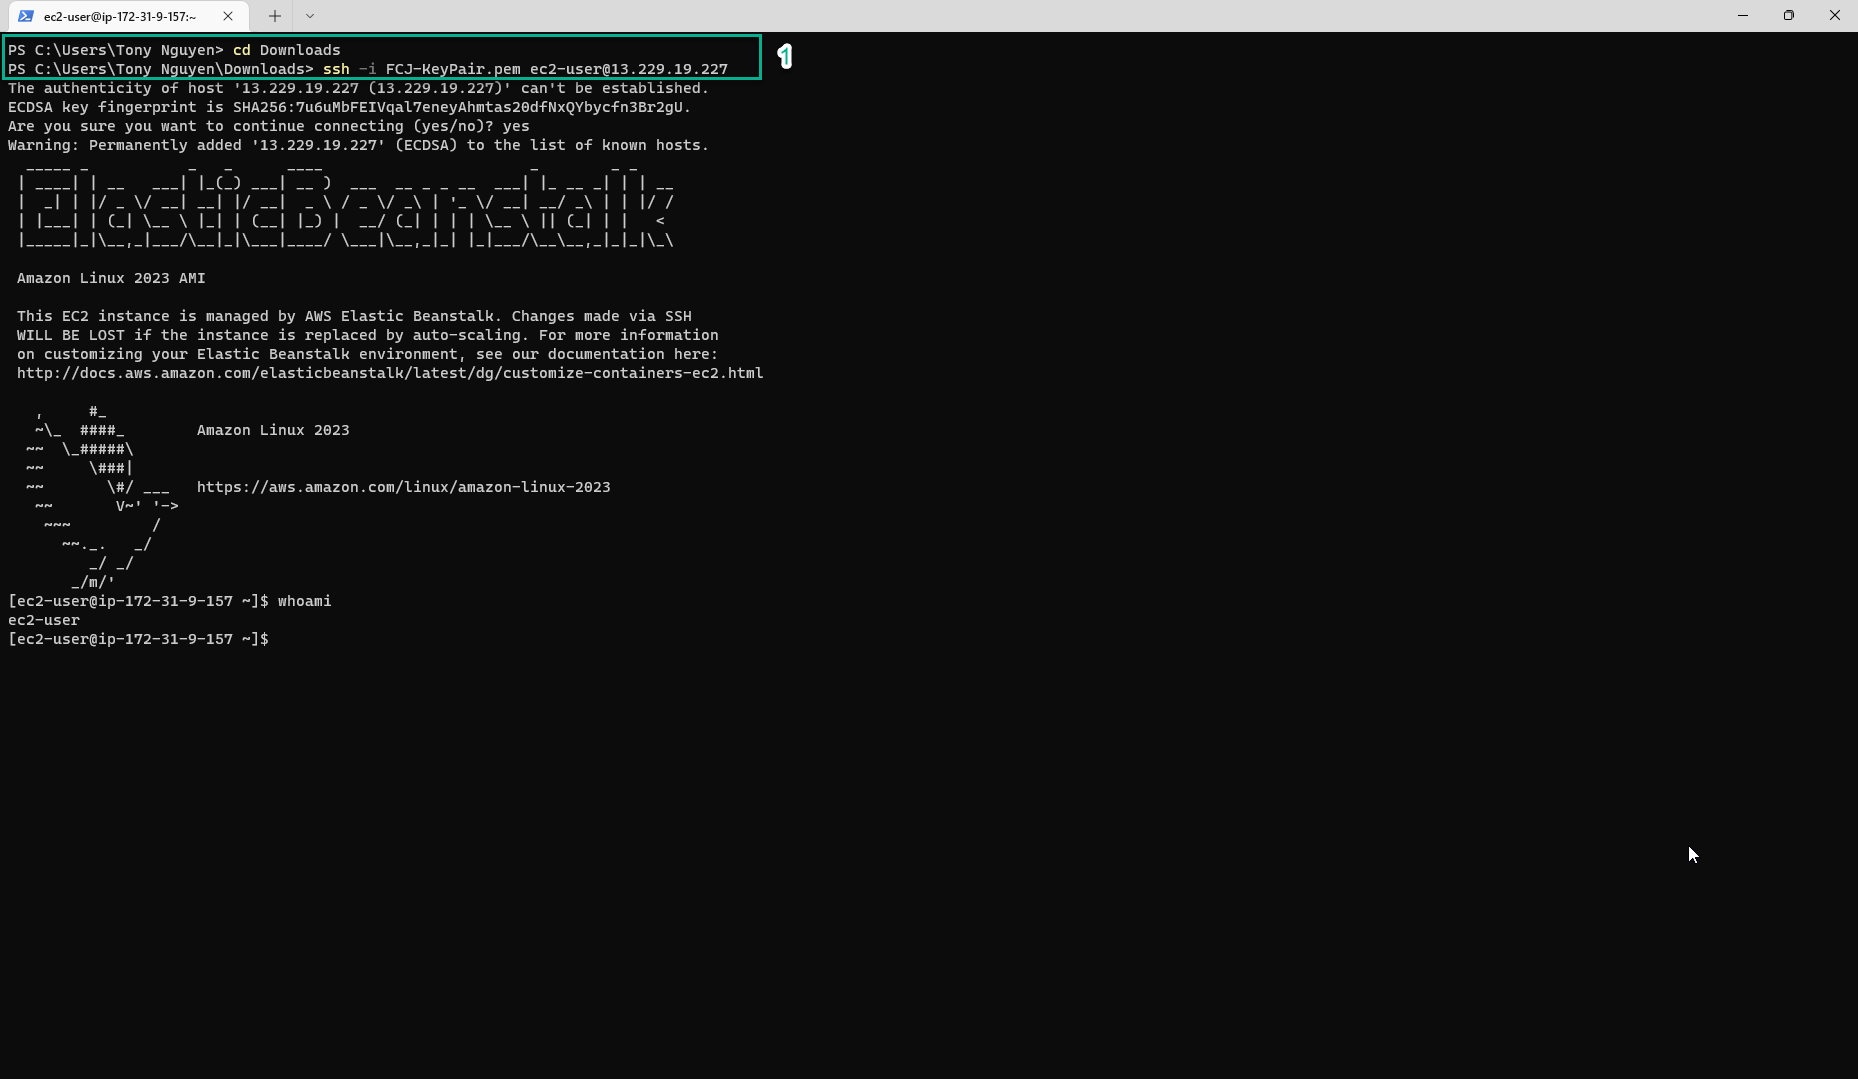
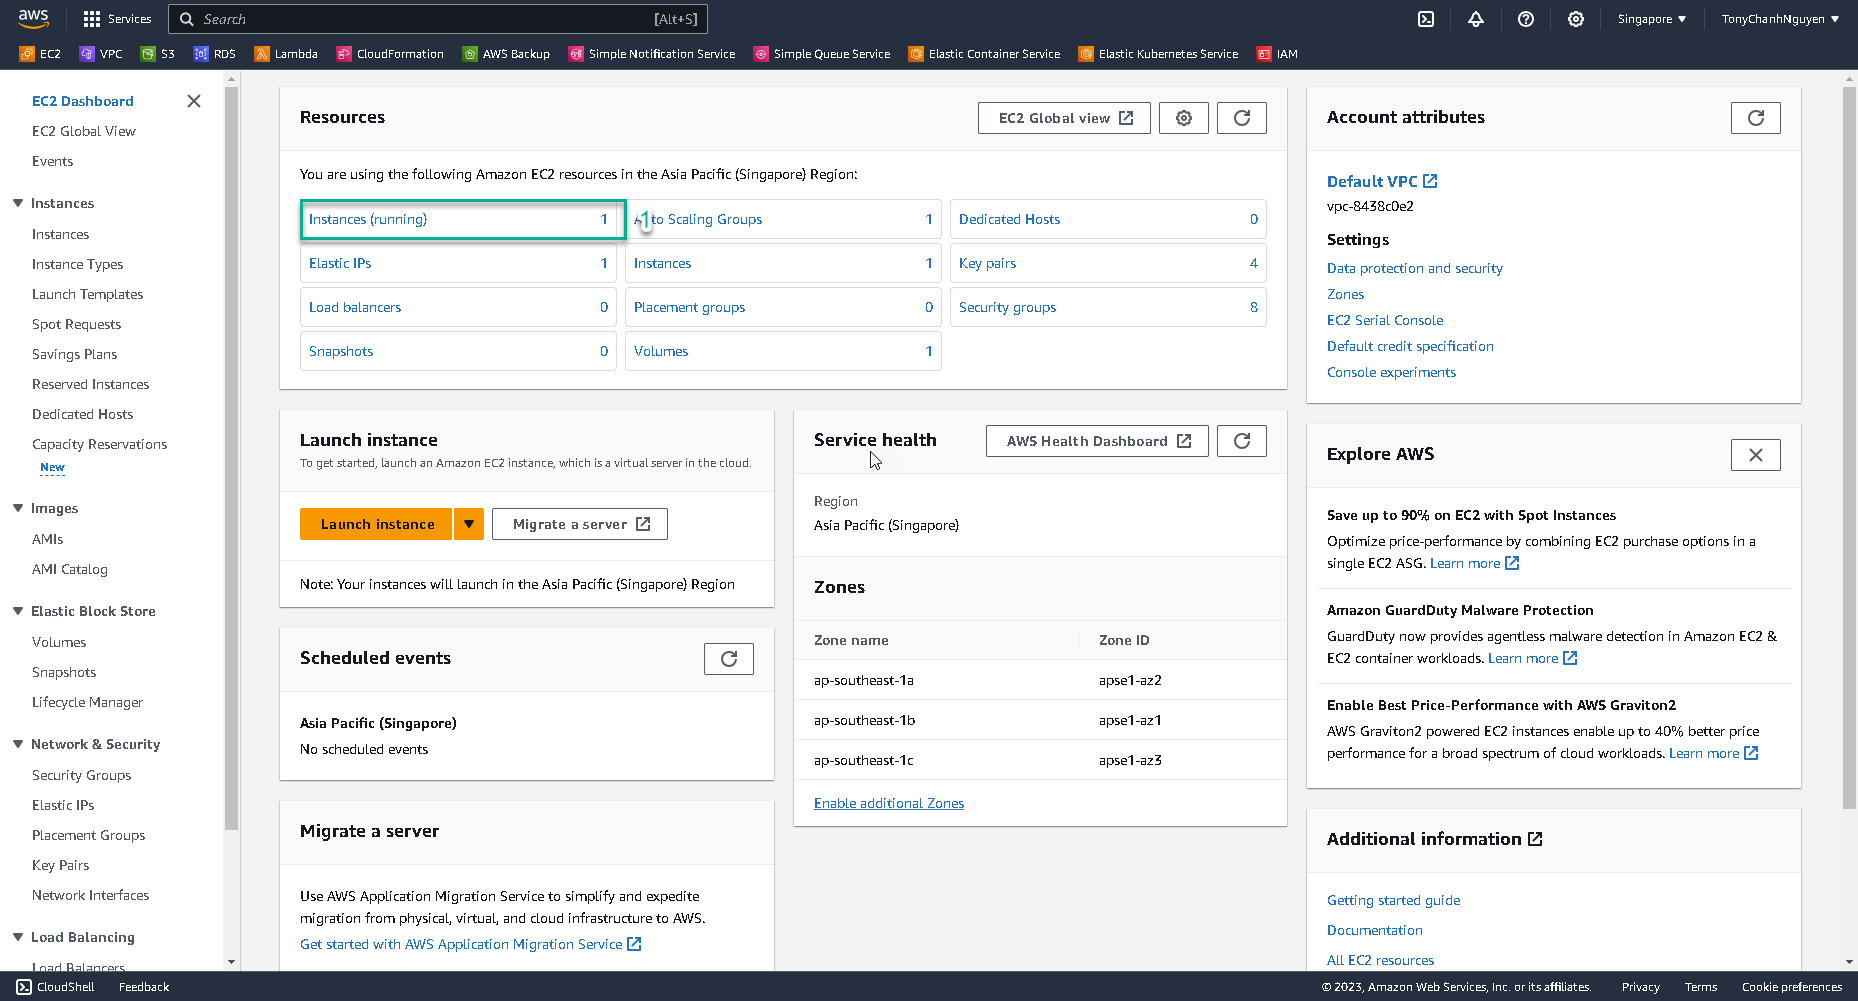
- Navigate to EC2 Dashboard.
- Click to Instance. You will see the instance name FCJ-My-First-App-env-DEV had been provisioned by Elastic Beanstalk.
- Select the instances and copy the Public IP address.
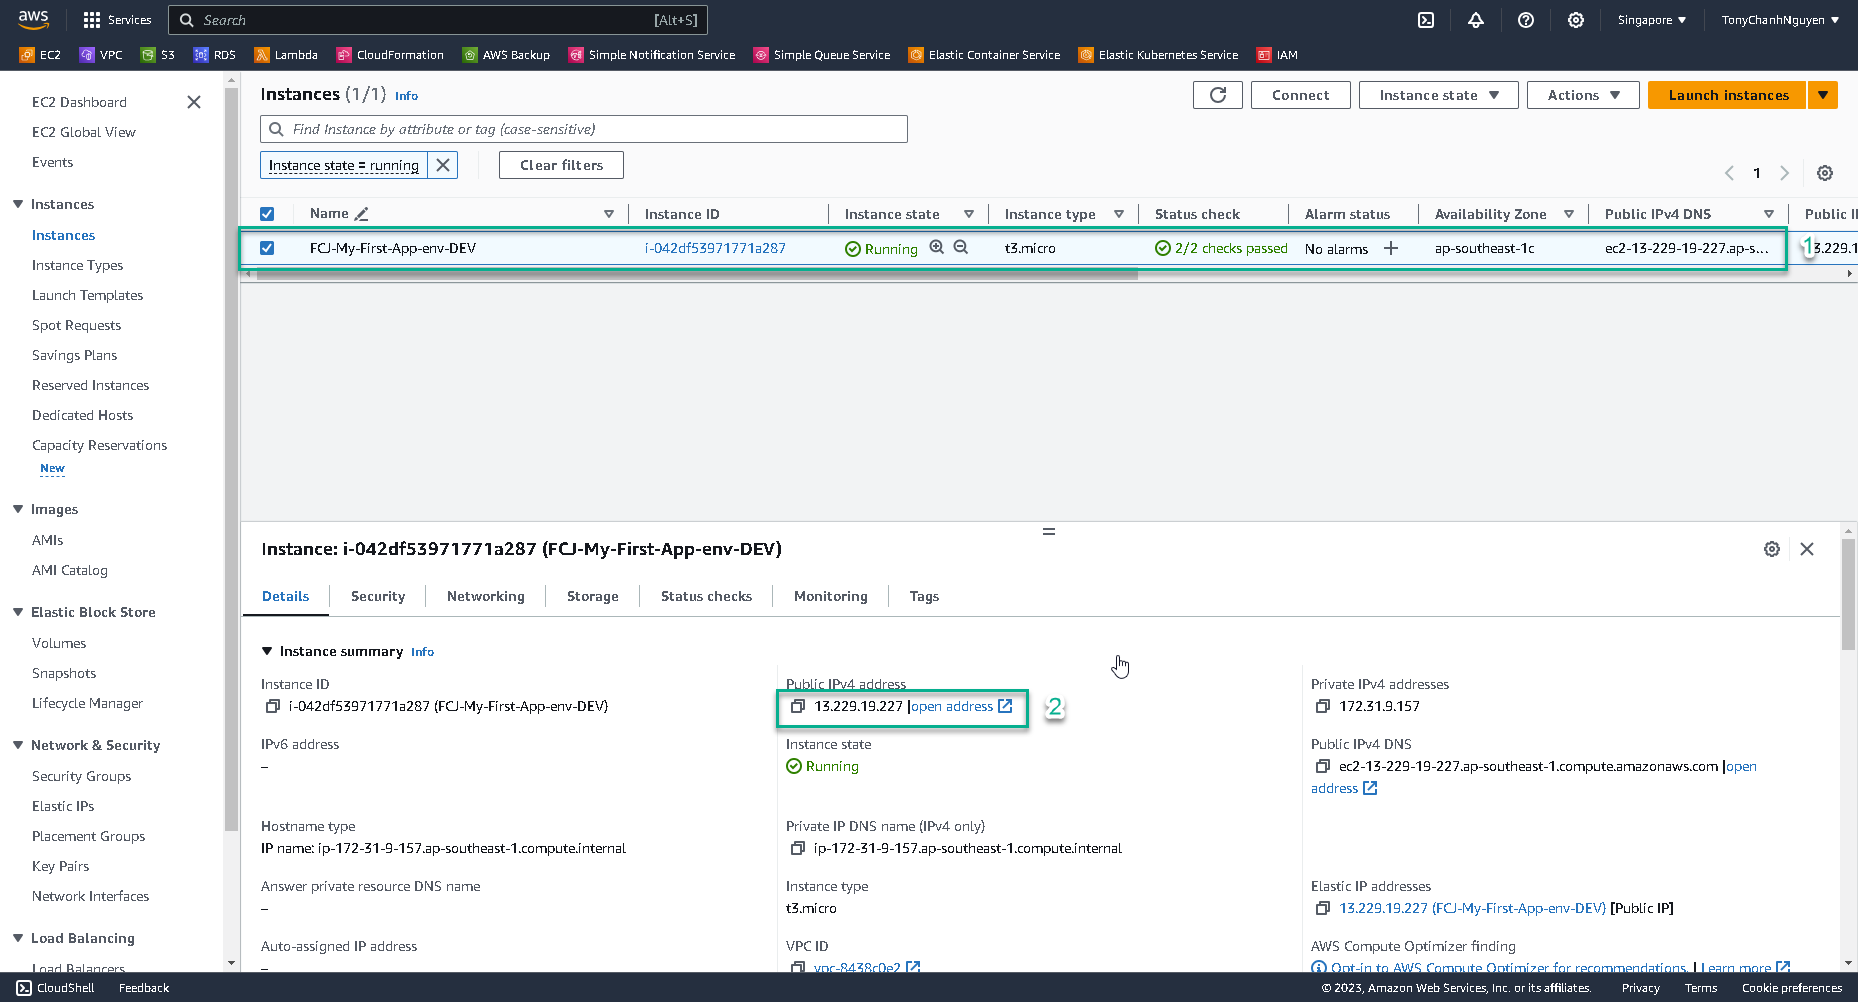
- SSH to instance with Public IP address and FCJ-KeyPair was created at 2.1-Create Key Pair